Use a page-builder template
If you need to create a regular post in the same format, a page-builder template can be created in Elementor. For help creating the template, this will be covered in a separate tutorial. This tutorial assumes that the Elementor template has already been created.
- First complete steps 1 to 12 in the tutorial Creating a post.
-
Now click
- Underneath your post heading and image, delete the top section by clicking the blue x

-
Underneath the image you will see this:
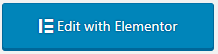
 Click
Click  (Add Template). A pop-up window appears.
 -
At the top of the popup window, click “My Templates”.
Find the relevant template in the list, and click “Insert”
 .
.When prompted to “Import Document Settings”, click “Yes”.
-
To update an element on the page, click on it. The editing panel for that element will appear on the LHS. Update the words and images in the LHS panel.
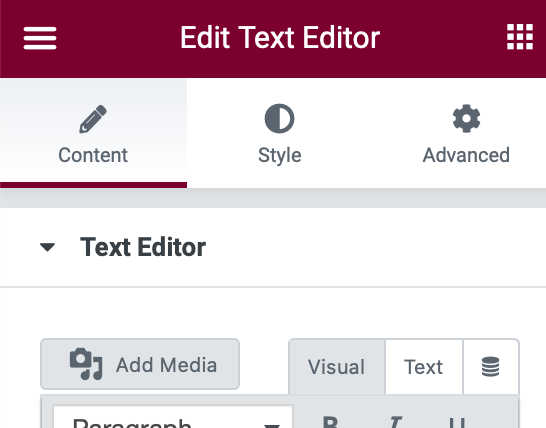
NB: If you are pasting text into the “Text Editor” panel, it is best to switch to the “Text” tab (not the “Visual” tab) to avoid pasting any formatting.
-
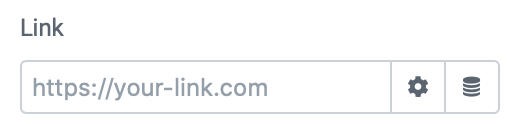
To add a hyperlink, paste the URL under “Link” in the LHS panel
-
To remove a block click the blue “x” above the block

- To remove one element within a block, right-click on the pencil
 and click “Delete”.
 -
To undo a change, click the “History” button at the bottom of the LHS panel
 . A list of changes will appear in the LHS panel.
To undo a step click on the previous one.
-
To save your changes, click
 .
. -
To preview your changes and check that all hyperlinks are working, click
 at the bottom of the LHS panel.
 -
If you need to make a change to the Featured Image or the Excerpt from within Elementor, click
 at the bottom of the LHS panel.
 -
Don’t forget to click
 again if you make any more changes.
Your post is now complete and should publish at the selected date and time. You can simply close your browser.