Resize an image
Sometimes it is better to resize an image before loading it onto your website as it takes up less space. Also on some WordPress themes the slider images won’t display correctly unless they are exactly the same size when loaded. This tutorial covers how to crop and/or resize an image using a free image resizing website.
To find a relevant image, you might like to search one of the free image websites. You will also find some tips to help you choose in the tutorial Introduction to choosing images.
Load the image
- Download the chosen image to your computer.If it needs to stretch across the full width of your website, make sure it is at least 860 pixels wide.
-
Go to resizeimage.net. Upload your image by clicking

If you don’t need to crop the image, skip to (6) “Resize the image and download” below.
Adjust the ratio
- Under step 2, click “Fixed aspect ratio” and enter the desired dimensions or ratio

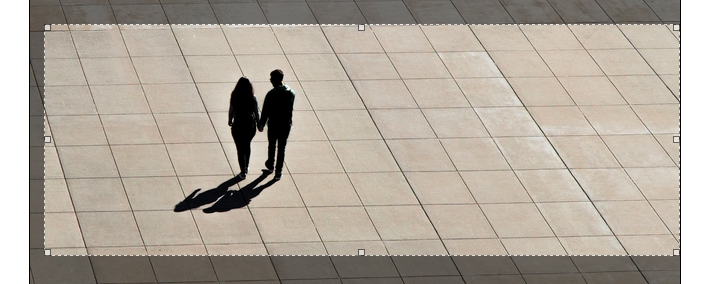
Crop the image
- Scroll down to the image and click and drag your cursor to create a box. Drag the corners of the box to outline the area you want to crop. It will conform to the above ratio.
-
Click
 . The image will be cropped.
You still need to resize the image to the desired dimensions.
Resize the image and download
- Under step 4, enter the desired width
 There is no need to change the percentage or height as they will automatically adjust if “Keep Aspect Ratio” is ticked.
 -
Scroll down to the bottom and click
 .
. -
Click
 .
.The image will download to your computer in JPG format at your chosen dimensions.