How Can We Help?
Create an email campaign
Sometimes you may wish to send an email manually, such as a newsletter or announcement. You can use MailChimp to design the email using your standard footer. Using MailChimp means you don’t have to maintain your email distribution list in a spreadsheet. Also if you have “groups” set up this gives recipients the ability to opt out of these types of emails by updating their preferences.
This tutorial assumes your MailChimp account is already set up and that there is a template available with your footer already configured.
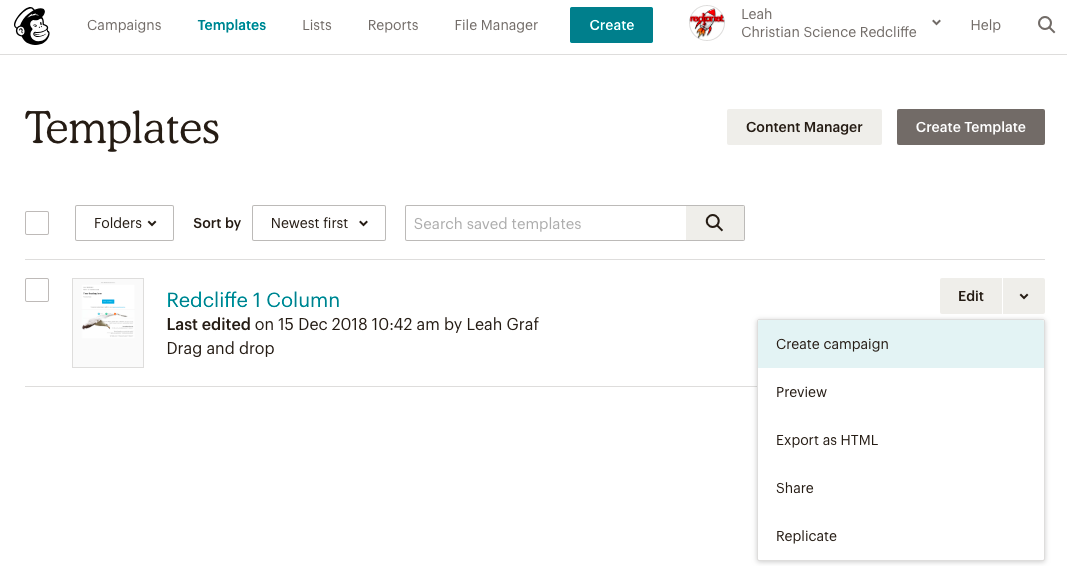
- Login to MailChimp and click on “Templates” at the top.
- Select “Create campaign” from the dropdown list to the RHS of your chosen template.
- Click on
 and select your recipient list under “List”.
- Under “Segment or Tag” select “Group or new segment”. Then select the conditions. If you have set up “Groups”, choose the recipient group that relates to the topic of your email.
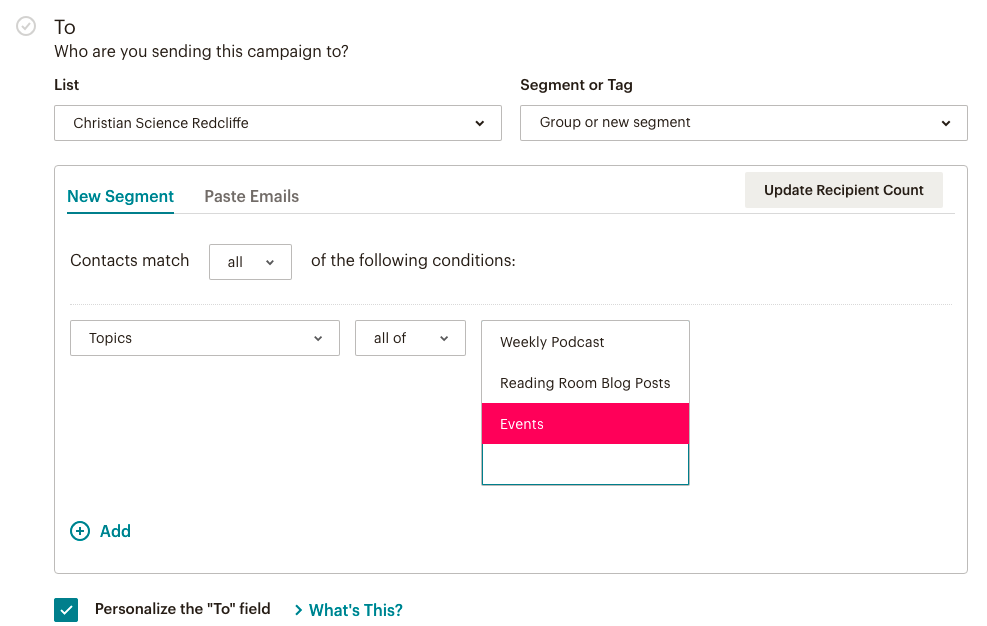
- Tick “Personalize the “To” field”, then select “*|FNAME|*” or “*|FNAME|* *|LNAME|*”. This adds the recipient’s name to the “To” field.
- Click

- Click
 then type the subject line of your email. Click .
- Click
 . You can edit the different elements by clicking on them in the LHS panel, and editing in the RHS box. Click the grey
  to save your changes to each element. To add a new element, drag it from the RHS. To delete an element click
  .
.
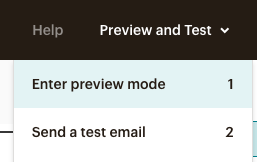 To preview your email, go to “Enter preview mode” under the “Preview and Test” dropdown at the top. Click
  to exit preview mode.
- When finished click
 on the bottom RHS.
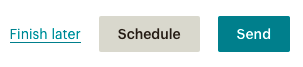
- When you are ready to send the email, at the top RHS click “Send” to send immediately, or “Schedule” to send at a later time. Click “Finish later” if you’re not ready to send.